To continue with my previous post...and to include all three kids in the fun, I have finished the second of 3 framed scrapbook pages! This page is especially adorable because it truely captures the fun & sillyness of my middle child.
On this layout, I incorporate a pull tab for journaling. I like to do this every once in a while because I think that journaling can sometimes detract from the intended focus of the page...in this case the focus is on his adorable little face.
I started with a solid blue background, added 11 X 12 stripe accent, then the polka dots, stars and more stripes - all designer papers are from Bo-Bunny Shabby Princess Collection, with solid red tucked in here & there. I outlined his name and age with a frame cut using a Quickkutz folder from long ago...I had that sitting in a box- I couldn't throw it away. The buttons -generic, and star clip- making memories, cheeky flat clips, made nice accents to the page and the "so fun" was cut from white card stock, using my cricut and distressed with denim ink from Close to My Heart. The tag for the journaling card (tucked under the picture) was punched using Stampin' Up! punches.
It seems as though a lot of time and energy went into this page, but actually, it wasn't that difficult - especially considering the subject! :)
I will post the third and final layout soon! I hope this helps to get you motivated to pull out those pics and get them started. I felt that this was my way of at least getting to scrap current photos - even though I am notoriously behind on my scrapbooking!
Thanks for looking!!
stay inspired!
Roseanne
Monday, April 16, 2012
Sunday, January 29, 2012
Recycling Scraps...
As a working mom, I find it hard to fit it all in as regularly as I want to...for some unknown reason I feel tremendous guilt if I take time for myself when the dishes aren't done, and the laundry is piled up. This weekend the 'nesting' bug hit me and I got all my chores done and finally felt comfortable going to my craft space and enjoyed every minute of it!
A couple of years ago I went to CK in Des Moines and took a few classes...mostly on scrapping in a minute or on a budget - I don't know about you but my husband always grumbles when I spend more than $20 at Michaels, which I do everytime I go there, so I love it when I can use my supplies on more than one project. Anyway, one of the classes I took at this convention involved a Creating Keepsakes album in an hour and I came home with extra supplies that I tucked in my paper supplies and forgot about...until today...
I made this layout in less than 20 minutes using those left over supplies and I cannot get over how well it turned out!! The journaling will be added but I wanted to show & tell! The frame is one that I bought about a year ago through my friendly Creating Memories demonstrator on discount, because they were on sale - I also bought one for each of the boys in chocolate. Once I am done with their layouts I will show & tell those too!!
The papers and accents were all part of the album class and absolutely love how this turned out!
If your afraid of having a one page layout because your scrapbook will not be 'even,' try one anyway...I used to be that way too but got over it quickly when I realized how fast and fun the one page layout can be. I also gave up on trying to create a matching page for the Got Sketch classes I have taken! Its alot more work when you have to have those 2 page layouts.
Thanks for looking and happy crafting!
A couple of years ago I went to CK in Des Moines and took a few classes...mostly on scrapping in a minute or on a budget - I don't know about you but my husband always grumbles when I spend more than $20 at Michaels, which I do everytime I go there, so I love it when I can use my supplies on more than one project. Anyway, one of the classes I took at this convention involved a Creating Keepsakes album in an hour and I came home with extra supplies that I tucked in my paper supplies and forgot about...until today...
I made this layout in less than 20 minutes using those left over supplies and I cannot get over how well it turned out!! The journaling will be added but I wanted to show & tell! The frame is one that I bought about a year ago through my friendly Creating Memories demonstrator on discount, because they were on sale - I also bought one for each of the boys in chocolate. Once I am done with their layouts I will show & tell those too!!
The papers and accents were all part of the album class and absolutely love how this turned out!
If your afraid of having a one page layout because your scrapbook will not be 'even,' try one anyway...I used to be that way too but got over it quickly when I realized how fast and fun the one page layout can be. I also gave up on trying to create a matching page for the Got Sketch classes I have taken! Its alot more work when you have to have those 2 page layouts.
Thanks for looking and happy crafting!
![]() |
Saturday, November 5, 2011
New Additions Are ALWAYS A Blessing!!
Although fall is in the air and it is turning brown and crisp, babies are a blessing all the same!! Several friends have had additions to their families and it inspired me to make a card or two and I wanted to be sure I shared one. :)

I put this card together using supplies I had on hand...everything is from Stampin' Up! unless otherwise noted.
The base is simply whisper white. I embossed the orchid opulence (light lavendar) with a cuttlebug embossing folder and added dazzling diamonds with a glue pen. I punched the scalloped circle in whisper white and added a pixie pink punched circle. Baby is from Lovely Labels and is stamped in pixie pink and dusted with dazzling diamonds just a little too. The white ribbon is from Michaels or Walmart...(99 cent special). Stamp a little congratulatory message on the inside and its done!! Pretty easy card and very well received.
Thanks for looking!
Roseanne
Sunday, September 18, 2011
Just a Little Inspiration...
I get inspiration from many different places...usually it is from a certain color palette or event. Lately my muse has been my new room!!
On occasion, I am asked to make cards for my church. The color of my room has really helped me along lately - it has really turned me toward turquoise and browns - but rest assured, that color pallette will change with fall and Halloween coming... I already have great ideas for both of those occasions.
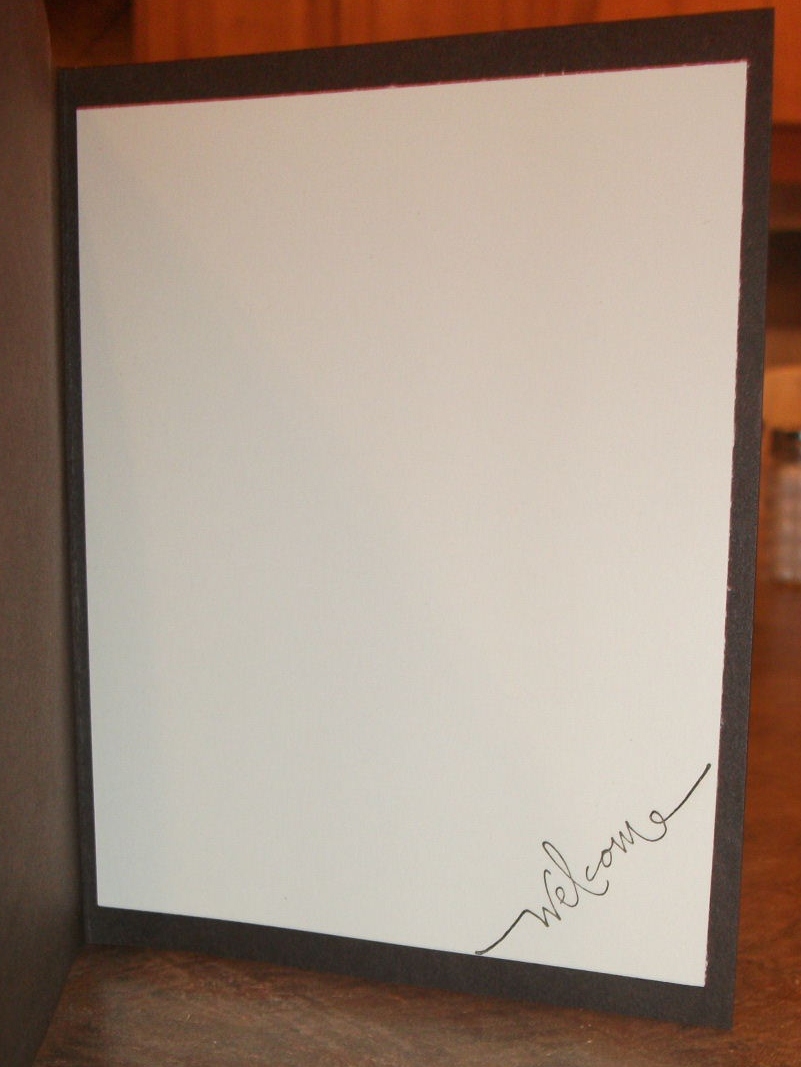
Anyway, I created this Welcome card for the new parishioners that I think is very stunning!!
On occasion, I am asked to make cards for my church. The color of my room has really helped me along lately - it has really turned me toward turquoise and browns - but rest assured, that color pallette will change with fall and Halloween coming... I already have great ideas for both of those occasions.
Anyway, I created this Welcome card for the new parishioners that I think is very stunning!!
Supplies used: Paper: SU! and anonymous, Images: Stampabilities and SU!, Ribbon: SU!, Accessories: generic
As the seasons change and the occasions differ I hope you can find inspiration in the things around you and I hope they help you create great things!!
Thanks for looking and as always, happy crafting!!
Roseanne
Sunday, June 26, 2011
It's Official!!!
I officially have a new home! My basement is finally finished (with the exception of the drop ceiling)! I have had my big scrapper party for all my friends to come, see and enjoy all the new space, and now it is time to sit down and get serious about my favorite personal pastime - papercrafting.
Of course with graduation time here again, it was a perfect excuse to spend time in my new room. Besides, my dear hubby doesn't want to (or won't) spend any more money on greeting cards considering how much money I spend on paper. ;D
Anyway, I made a cute little envelope card using my favorite retired Stampin' Up! products...
Of course with graduation time here again, it was a perfect excuse to spend time in my new room. Besides, my dear hubby doesn't want to (or won't) spend any more money on greeting cards considering how much money I spend on paper. ;D
Anyway, I made a cute little envelope card using my favorite retired Stampin' Up! products...
I generated this card using Brilliant Blue ink and cardstock, the Great Grads stamp set and the Hugs & Wishes stamp set. I also used the All Stars Large Stampin' Wheel to complete the front of the card, as well as satin white ribbon.
Complete instructions:
Cut a piece of 6 3/4 in X 7 inch brilliant blue cardstock. Either fold cardstock in half so that it measures 6 3/4 in X 3 1/2 in. Cut a piece of 6 1/2 in. X 3 1/4 in. piece of white cardstock...this is the interior of the card.
Using the 1 3/4 in. circle punch, make a punch at the left side of the paper - this will be the front of the card.
Using a stamp-ama-jig, or by eyeballing it, stamp the G image on white cardstock so that it is centered in the circle punch area.
Open the brilliant blue cardstock, and lay it out flat on a piece of scrap paper. Ink and roll the stars image across the card so that it spans the front of the card. I actually started the image over the punched area, stamped it and re-inked the wheel and stamped the other side of the cardstock - opposite of the punch area....this way the image is crisp and consistent over the entire card.
Finally, wrap the satin ribbon around the longer portion of the card front, tie a bow and viola...you are done.
I hope you enjoy this card...it is very versatile for all school colors.
Thanks for looking - any and all comments are welcome!
Happy crafting!
Roseanne
Thursday, January 20, 2011
Hoping for Spring?
I am unsure if I am actually hoping for spring or if I am just trying to find any excuse to make a brightly colored card...ha!ha! Either way, I know that it has been awhile since I've posted. In my defense, I am trying to finish my basement...and my new craft room. I am very excited!! The walls are painted and the wood laminate floor is in...just waiting on trim, the light and the drop ceiling to be put in place. If all goes well, it will only be a few more weeks and I will be in business.
The card I am posting today will be sent to a friend that has a wonderfully spirited nature! She is one of my favorite people to sit and have coffee with ~ although I do enjoy the company of all my friends that I have coffee with, she and I just have it more often.
I used the giraffe image from Rubber Cottage Stamps. I stamped the image in Stampin' Up Eggplant Envy on white cardstock. I then restamped the image using Stampin' Up Tempting Turquoise, Eggplant Envy, and Melon Mambo markers to get the different colored spots. I colored the eyes in using black ink, this made them really stand out!!
I cut the colorful image out and popped it up off of the original image using foam dots. I also used an edge punch and distressed the edge of the white cardstock with Tempting Turquoise. I stamped 'for you' with Melon Mambo ink. The base of the card is in Tempting Turquoise and the giraffe image was mounted on Eggplant Envy cardstock. I then added Tempting Turquoise ribbon and put stickles on the eyes to make them sparkle.
I absolutely love this image!! The details used on the giraffe are breath taking and dramatic. I don't know if you could find a better image of a giraffe!! Rubber Cottage Stamps did a very nice job in creating this image!
Sorry for the long delays between posts. I really hope you enjoy this card as much as I do and I really hope my friend is surprised when she sees it.
I hope to post again really soon! As soon as my room is done I will be able to scratch my stamping itch a lot more often. (It is very difficult to contain myself at times.)
The card I am posting today will be sent to a friend that has a wonderfully spirited nature! She is one of my favorite people to sit and have coffee with ~ although I do enjoy the company of all my friends that I have coffee with, she and I just have it more often.
I used the giraffe image from Rubber Cottage Stamps. I stamped the image in Stampin' Up Eggplant Envy on white cardstock. I then restamped the image using Stampin' Up Tempting Turquoise, Eggplant Envy, and Melon Mambo markers to get the different colored spots. I colored the eyes in using black ink, this made them really stand out!!
I cut the colorful image out and popped it up off of the original image using foam dots. I also used an edge punch and distressed the edge of the white cardstock with Tempting Turquoise. I stamped 'for you' with Melon Mambo ink. The base of the card is in Tempting Turquoise and the giraffe image was mounted on Eggplant Envy cardstock. I then added Tempting Turquoise ribbon and put stickles on the eyes to make them sparkle.
I absolutely love this image!! The details used on the giraffe are breath taking and dramatic. I don't know if you could find a better image of a giraffe!! Rubber Cottage Stamps did a very nice job in creating this image!
Sorry for the long delays between posts. I really hope you enjoy this card as much as I do and I really hope my friend is surprised when she sees it.
I hope to post again really soon! As soon as my room is done I will be able to scratch my stamping itch a lot more often. (It is very difficult to contain myself at times.)
Tuesday, November 30, 2010
A bit of early Holiday Cheer
This card was made using an old SU! Holiday Mini Bundle. I can't remember the name of the bundle off the top of my head, but as a fallen Stampin' Up! demonstrator I no longer feel obligated to be completely precise about the product name. :) Besides, it is no longer available so the name doesn't really matter. Anyway, I made this card as a hopeful for a masculine card occasion. Well, call it Christmas spirit or Holiday cheer, I found a use for it...I sent it to a person who I don't even know. This holiday season, this total stranger was diagnosed with CLL, an incurable form of cancer that a lot of older people succumb to. Prognosis can be good with proper treatment and follow-up care...but no one wants to find out about cancer during the holiday season ~ or at any other time of the year for that matter, but especially not for the holidays.I was invited to take part in the card shower for this gentleman, and I gladly accepted ~ what kind hearted stamper could really say no...could you? Anyway, I also try to do the card showers I see in the weekly circular about people turning 90 or long blessed marriages...you know the ones I am talking about...the ones that make you go AWWEEE (how cute).
So here is another challenge for you...take part in a shower. I know it is off season but you never know when you hope for it to rain at your house.
Thanks for stopping and happy stamping!
Roseanne
(BTW...good luck with the Christmas cards).
Subscribe to:
Posts (Atom)